 EN
EN

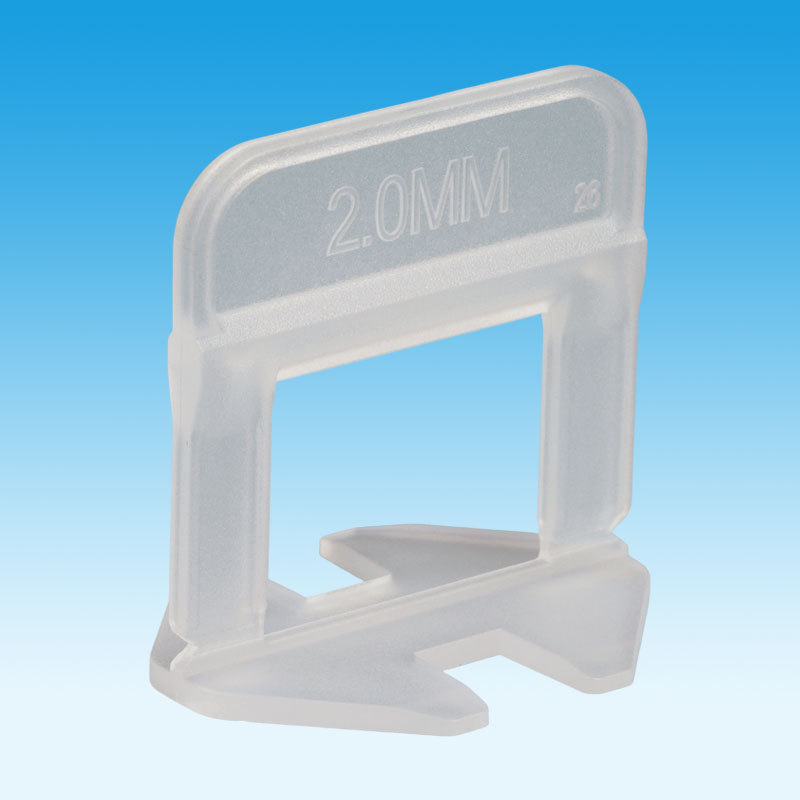
Incorrect Tile Leveler Installation Technique
Misaligned clips causing persistent lippage
Misplacing leveling clips—even by 1–2 mm—introduces edge misalignment that the tile leveler cannot correct. When clips are spaced unevenly (e.g., inconsistent distance from corners), lateral forces become asymmetric, leaving some tile edges raised while others sit flush. This imbalance creates lippage that hardens into a permanent defect once thin-set cures. A dry layout inspection often reveals subtle thickness variations within the same tile lot—up to ±0.5 mm—which compound when clip placement is imprecise. Aligning clips consistently—typically 5 cm from each corner for standard tiles—ensures the leveling mechanism engages both sides equally and distributes clamping force uniformly. Installers should use a calibrated gauge or spacer to maintain repeatable placement and verify alignment with a straightedge after wedge insertion. Without this discipline, even high-quality clip-and-wedge systems fail to deliver a flat surface: any deviation in clip positioning creates localized low spots that grout cannot conceal. Many recurring lippage complaints trace directly to this single, preventable error.
Over-tightening or under-tightening leveling straps leading to tile distortion
Applying excessive force when driving wedges or tightening screw-cap straps can lift the tile rather than seat it fully. Over-tightening breaks the adhesive bond, creating a hollow spot beneath the tile—a latent failure point prone to cracking under load. Conversely, under-tightening leaves the clip loose, allowing the tile to shift during mortar cure and producing a wavy, non-planar surface. The correct tension is just enough to close the joint and align edges without resistance; a soft click or snug, no-force-to-turn feel typically signals proper engagement. Power tools should be avoided for wedge insertion—hand pliers designed for the specific system provide better control. A quick straightedge check across adjacent tiles immediately after tightening helps identify over- or under-tensioned areas before the mortar skins over. Consistent, moderate pressure across all straps ensures full tile bedding and keeps the finished floor flat within industry tolerance (≤3 mm over 2 meters).
Installing clips on unprepared, uneven substrate
A tile leveling system cannot compensate for substrate flatness violations. If the subfloor deviates more than 3 mm over a 2-meter span—the widely accepted benchmark per ANSI A108.02 and TCNA Handbook—the clips merely bridge low spots, resulting in hollow-sounding tiles and eventual bond failure. Before installing any clip, the surface must be cleaned of dust, old adhesive, or laitance; primed where required; and leveled with self-leveling compound where deviations exceed tolerance. Even minor debris or an uneven concrete patch prevents the clip foot from sitting flush, tilting the entire assembly and introducing lippage from the first tile laid. A perfectly aligned clip will transmit underlying irregularities upward without mitigation. A properly prepared substrate also minimizes excess mortar squeeze-out, reducing the risk of thin-set infiltrating the clip mechanism. Investing time in substrate preparation ensures the leveling system functions as intended: holding tiles in true coplanarity—not forcing them out of plane.
Mortar-Related Failures with Tile Leveler Systems
Mortar selection and application are critical yet frequently overlooked aspects of a successful tile leveler installation. When bonding material fails to perform as expected, the precision of the leveling system is undermined—often resulting in hollow spots, delamination, or cracking. A leading cause is physical interference between wet mortar and the leveling mechanism itself.
Thin-set oozing into clip mechanisms and jamming the tile leveler
Excessive thin-set extruding up through the grout joint does more than create cleanup work—it directly compromises the tile leveler’s function. When wet mortar hardens inside strap housings or around clip bases, it jams internal wedges or ratcheting components, preventing full tensioning against the tile surface. This locks in subtle but permanent lippage. To prevent infiltration, installers should comb mortar ridges perpendicular to the clip’s orientation to direct flow away from joints—and use a margin trowel to clean the joint immediately after setting the tile. Waiting even a few minutes allows initial set to begin, making mortar removal exponentially harder and increasing the risk of disturbing the tile, which can break the adhesive bond beneath the clip. A clean, unobstructed joint is the only environment where a tile leveler operates reliably.
Insufficient open time or inconsistent mortar affecting tile leveler adhesion
The mortar’s pot life and consistency dictate the effective working window for leveling. If thin-set skins over or loses plasticity before straps are tensioned, the tile cannot be freely adjusted into its final plane. Applying tension to a tile with a dried surface film forces it to tilt into uncured paste below, creating inconsistent support and micro-depressions. Similarly, non-uniform mortar consistency—caused by improper mixing, retempering, or water addition—leads to differential shrinkage. As thicker areas cure faster, they pull down slightly, negating the leveling effort. Reliable adhesion requires staging work in manageable sections: keying mortar into the substrate and back-buttering the tile just before clip engagement ensures the system aligns the tile while the bonding layer remains fully plastic and responsive.
Diagnosing and Resolving Persistent Lippage with Tile Levelers
Differentiating substrate flatness issues from tile leveler placement errors
When lippage persists despite using a tile leveler, the root cause is typically either substrate unevenness or incorrect clip placement—not a flaw in the system itself. Per ANSI A108.02 and the TCNA Handbook (2023), floor substrates must not deviate more than 3 mm over 2 meters (≈1/8 inch in 10 feet). If the substrate meets this standard, inspect clip placement: clips positioned too far from corners—or placed across irregular joints—create leverage that the leveler cannot overcome, transferring bending stress to tile edges and producing visible offset. A diagnostic approach—testing a small section with uniform, manufacturer-recommended clip spacing and verifying with a straightedge—quickly isolates whether lippage originates from substrate flaws or hardware misapplication. This targeted verification prevents unnecessary rework and supports efficient, large-area execution.
Proven Prevention Strategies for Reliable Tile Leveler Performance
Adopting a proactive, process-driven approach eliminates the root causes of most tile leveling failures. The following strategies build consistency and quality into every installation—regardless of the tile leveler system used.
- Prepare the substrate meticulously: A clean, flat, and debris-free surface is non-negotiable. Sub-millimeter irregularities transfer directly through the leveler, generating lippage no clip can correct. Verify flatness with a 2-meter straightedge before proceeding.
- Follow manufacturer specifications exactly: Clip spacing, strap torque, and mortar curing times must match published guidelines. Over-tightening risks tile distortion or cracking; under-tightening leaves lippage unaddressed. Deviations compromise performance more than material choice.
- Inspect alignment continuously: Do not defer verification until the end. Adjust clips and recheck with a straightedge as each tile is set—catching and correcting misalignments before mortar cures preserves integrity and avoids costly corrections.
- Choose durable, reusable components: Engineering-grade levelers built with corrosion-resistant polymers or stainless steel maintain consistent tension over repeated cycles. This reduces long-term tooling costs and delivers uniform results project after project.
- Control mortar application rigorously: Prevent thin-set infiltration by applying the correct amount, combing in the optimal direction, and maintaining full open time. Use mortars specifically formulated for large-format tiles—these retain extended adjustability and bond strength under sustained leveling pressure.
FAQ
What is lippage and how does it occur?
Lippage refers to uneven tile surfaces where tile edges are not flush, causing tripping hazards and visual imperfections. It typically results from misaligned clips, uneven substrate, or improper tension in tile leveling systems.
How can I prevent thin-set from jamming clip mechanisms?
Prevent thin-set infiltration by combing mortar perpendicular to clip orientation, using minimal adhesive, and cleaning joints immediately after setting tiles before the mortar begins to set.
Can tile levelers fix uneven substrates?
No, tile levelers work best only on flat substrates. If the subfloor deviates more than 3 mm over 2 meters, you need to prepare the surface first using leveling compounds and proper cleaning to ensure the system functions effectively.
Why are consistent clip placements essential?
Misplaced clips lead to uneven clamping forces, creating lippage that can’t be corrected after the thin-set cures. Proper placement ensures symmetric tensioning and a flush finish across tiles.
Should I use power tools for tightening straps?
No, power tools can apply excessive force and distort tiles. Use hand pliers specific to the leveling system for controlled and accurate tightening.
