 EN
EN

What Is a Tile Leveler and Why It Solves the #1 Beginner Problem: Lippage
Understanding Lippage—The Invisible Flaw That Ruins DIY Tile Projects
Lippage—the height difference between adjacent tile edges—is the single most common cause of amateur-looking results. Even a 1/16-inch variance creates visible shadows, compromises safety, and often goes undetected until the thin-set cures. At that point, correction means breaking out and replacing tiles. Causes include substrate irregularities, subtle variations in tile thickness, and inconsistent adhesive coverage. Without mechanical assistance, installers rely on touch and repeated spirit-level checks—a slow, subjective process prone to error. Recognizing lippage as the core challenge is essential: it’s not just cosmetic—it undermines durability, safety, and confidence.
How a Tile Leveler Mechanically Eliminates Height Discrepancies at the Joint
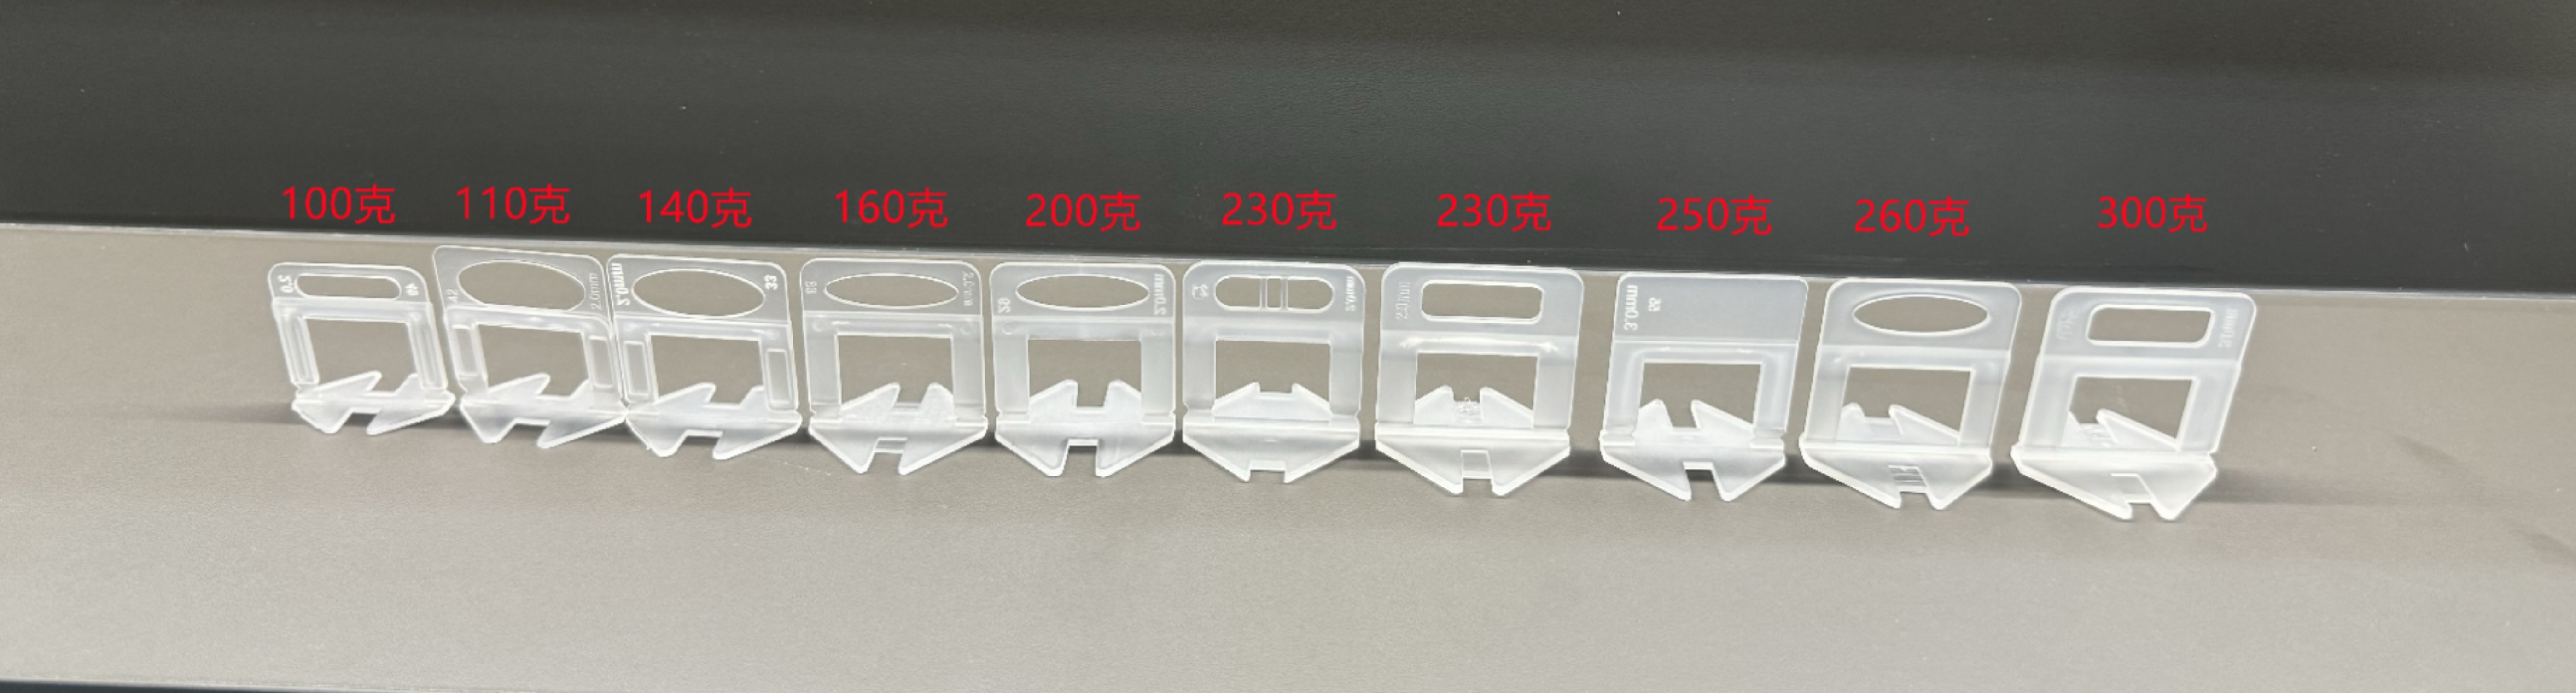
A tile leveler uses a three-part system—plastic clips, wedges, and leveling pliers—to force adjacent tiles into perfect vertical alignment during installation. Clips slide under tile edges before adhesive sets; wedges are inserted and tightened with pliers, applying uniform downward pressure that locks tile faces flush. This interlocking action holds the assembly rigid while mortar cures, preventing differential settlement. Crucially, it compensates for minor substrate inconsistencies and tile-thickness tolerances without requiring re-troweling or lifting tiles. Unlike manual methods, it delivers repeatable, lippage-free joints row after row—transforming alignment from an art into a precise, scalable process.
Using a Tile Leveler: A Simplified, Step-by-Step Process for First-Time Installers
Prep Essentials: Substrate Readiness, Adhesive Choice, and Tile Handling Tips
Success starts beneath the surface. The substrate must be clean, dry, and structurally sound—any dust, oil, or unevenness will telegraph through the finished floor. For floors with more than 3 mm of variation over 3 m, apply a self-leveling compound before adhesive. Use polymer-modified thin-set for large-format or impervious tiles (e.g., porcelain); standard cement-based adhesive works well for smaller ceramic tiles. Match trowel notch size to tile dimensions: a 10 mm square-notch trowel is ideal for most tiles above 30 cm. Back-buttering—applying a thin, even layer of adhesive to the tile’s back—is mandatory for tiles larger than 30×30 cm, filling voids and increasing bond strength by up to 30% (Tile Council of North America, TCNA Handbook 2022). Handle tiles with clean, dry hands or suction cups to avoid smudging adhesive or shifting placement.
The Core Workflow: Placing Clips, Inserting Wedges, and Final Alignment in Under 5 Minutes per Row
Once the first tile is set, the clip-and-wedge system removes ambiguity. Slide two clips under each edge—positioned roughly 5 cm from corners—and add more for tiles over 60 cm. Place the next tile firmly into the adhesive so the clip base straddles both edges. Insert the wedge and tighten gradually with leveling pliers until surfaces are flush; stop immediately upon contact—overtightening risks cracking. A row of four 60×60 cm tiles typically aligns in under five minutes. Because the system physically locks tiles in place during cure, consistent, lippage-free joints emerge regardless of experience level. After the adhesive has set (usually 24 hours), remove the wedges and snap off the protruding clip tabs—leaving a clean, uniform grout joint ready for finishing.
Why Tile Levelers Accelerate Skill Development—Without Compromising Pro Results
Real-Time Visual and Tactile Feedback Builds Confidence and Reduces Guesswork
Tile levelers provide immediate, intuitive feedback: as you tighten the wedge, you see tiles align and feel resistance increase—signaling flush contact. This eliminates the uncertainty of traditional spacers, where lippage hides until grouting. You learn proper pressure, spacing, and sequencing through direct sensory input—not trial and error or expensive diagnostic tools. Over time, this builds muscle memory and spatial awareness, turning each installation into deliberate practice. The leveler becomes both tool and teacher—reducing anxiety, reinforcing best practices, and enabling beginners to achieve pro-level flatness far sooner than with conventional methods.
Reusable, Tool-Free Design Lowers Entry Barriers for Budget-Conscious Beginners
Most modern tile leveler systems require no special tools—just clips, wedges, and pliers (often included). Unlike clamping rigs or laser-guided systems, they demand no power source, calibration, or technical setup. Clips and wedges are engineered for dozens of installations, making them highly cost-effective over time. This reusability cuts ongoing supply costs, reduces waste, and supports sustainable renovation habits. For beginners operating on tight budgets, the low upfront investment and zero learning curve around equipment mean faster project starts and fewer abandoned jobs. With attention freed from gear complexity, focus stays on technique—accelerating competence without compromising outcome quality.
Tile Leveler Advantages for Modern Tile Types: Large-Format and Rectified Tiles
Large-format tiles (e.g., 600×600 mm porcelain) and rectified tiles—with their precisely ground, razor-straight edges—are now industry standards. Yet their visual impact hinges entirely on flawless flatness: even minor lippage magnifies dramatically across wide spans, and heavy slabs resist manual realignment once placed. Tile levelers solve both issues directly. Their mechanical clamping action prevents sagging, bowing, or edge tilting as thick-bed adhesives cure—maintaining uniform height across every joint. For rectified tiles, where grout lines are narrow and unforgiving, the system ensures crisp, consistent joints free of shadow lines or “step” effects. In short, tile levelers don’t just accommodate modern materials—they unlock their full aesthetic and functional potential, delivering results that would otherwise require years of hands-on mastery.
FAQ
What is lippage in tile installations?
Lippage refers to the height difference between adjacent tile edges, which can create shadows, safety hazards, and amateur-looking results in tile projects.
How does a tile leveler help prevent lippage?
A tile leveler uses clips, wedges, and leveling pliers to apply downward pressure, aligning tiles to eliminate height discrepancies during installation.
Do I need any special tools to use a tile leveler?
No, most systems require only clips, wedges, and leveling pliers, which are often included in the kit. No power source or technical setup is needed.
Can beginners achieve professional results with a tile leveler?
Yes, tile levelers simplify the alignment process, providing real-time feedback and reducing guesswork, making it easier for beginners to achieve flawless flatness.
Are tile levelers suitable for large-format or rectified tiles?
Absolutely. Tile levelers ensure uniform height across large spans and narrow grout lines, making them ideal for modern tile types like rectified and large-format tiles.
Table of Contents
- What Is a Tile Leveler and Why It Solves the #1 Beginner Problem: Lippage
- Using a Tile Leveler: A Simplified, Step-by-Step Process for First-Time Installers
- Why Tile Levelers Accelerate Skill Development—Without Compromising Pro Results
- Tile Leveler Advantages for Modern Tile Types: Large-Format and Rectified Tiles
- FAQ
