
Misunderstanding What a Tile Leveler Can and Cannot Do
A tile leveler is designed solely for anti-lippage correction—aligning adjacent tiles into a single plane during installation. It does not replace structural floor leveling tools or compensate for foundational flaws. Common mistakes stem from conflating these distinct functions.
Confusing anti-lippage correction with structural floor leveling
Tile levelers address only minor elevation differences between tiles, not underlying substrate irregularities. As the National Tile Contractors Association (NTCA) reported in 2023, misapplication contributes to an estimated $70B in annual industry rework costs. Structural leveling—such as grinding high spots or applying self-leveling underlayments—must occur before tiling begins. Leveling systems manage tile-to-tile alignment only; they cannot correct slope, deflection, or subfloor warping.
Relying on tile leveler to mask substrate flaws or uneven adhesive beds
Levelers cannot overcome poor preparation. Substrate deviations exceeding 1/8" over 10 feet—or inconsistent adhesive coverage—create voids and stress points that compromise bond integrity. Per the TCNA Handbook (2024), such conditions increase the risk of tile cracking under leveling pressure. Specifically:
- Levelers cannot stabilize tiles bridging adhesive voids
- They offer no protection against movement from unstable substrates
Attempting forced correction introduces internal stress, often resulting in delayed fractures or lippage rebound after clip removal.
Incorrect Tile Leveler Application Mechanics
Over-tightening screws or forcing wedges—causing tile stress or lippage rebound
Applying excessive force during installation creates hidden damage. Over-tightening screws or hammering wedges beyond design tolerance induces microfractures along tile edges—especially at corners and joints. This stored energy releases after clip removal, causing “lippage rebound”: a gradual, uneven rise in previously flattened tiles. Industry field data indicates improper force application accounts for 38% of post-installation lippage cases. The fix is simple but critical: apply firm, even pressure—just enough to seat tiles flush—without distorting their natural plane.
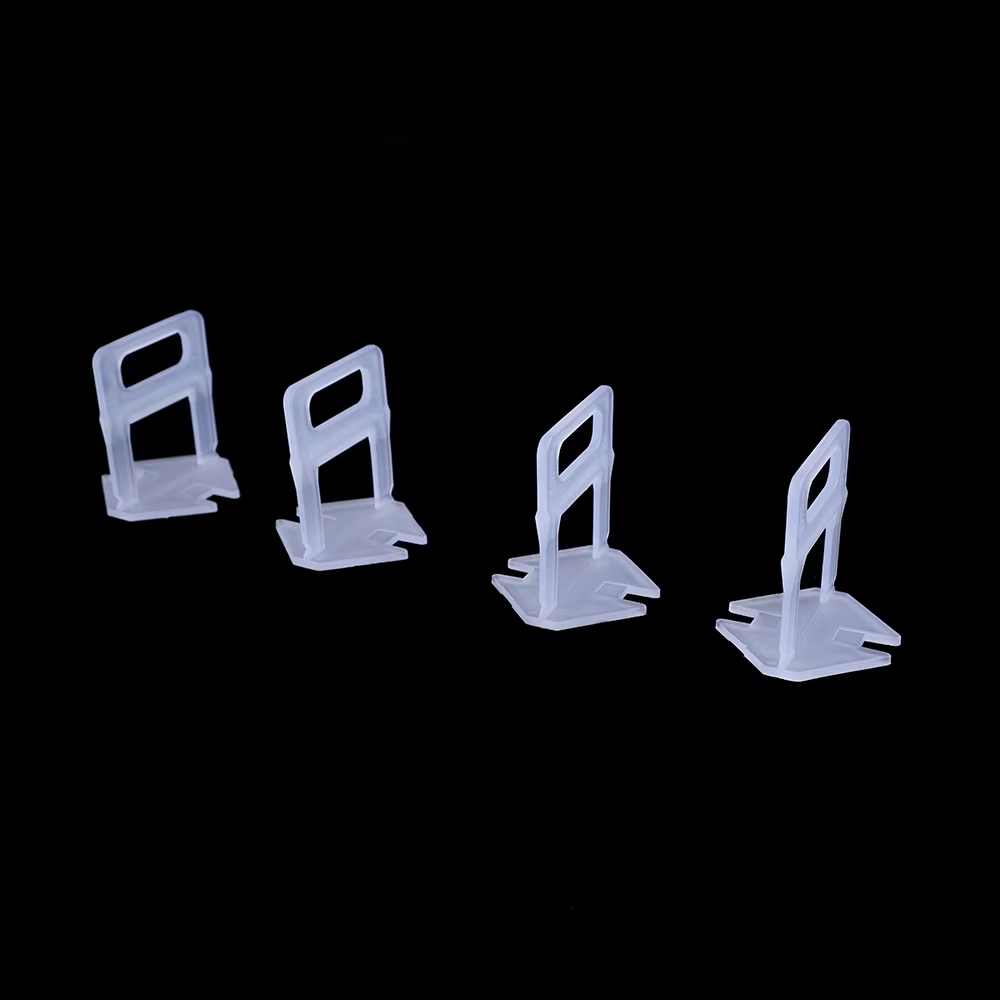
Using mismatched clip sizes for tile thickness or format (e.g., large-format vs. mosaic)
Clip selection must match both tile thickness and format. Mosaic tiles (typically ≤6mm thick) require low-profile clips (1–3mm), while thick porcelain slabs (12mm+) demand heavy-duty systems (up to 12mm height). Undersized clips lack the mechanical advantage to align large-format tiles, leading to persistent lippage. Oversized clips under delicate mosaics create visible gaps, adhesive starvation, and edge lift. Manufacturer-specified compatibility exists for good reason: mismatched systems increase lippage risk by 70%, per ANSI A108 and TCNA guidelines. Always confirm clip height against tile thickness and grout joint depth before setting.
Premature or Damaging Tile Leveler Removal
Removing clips before adhesive cure—inducing tile movement and micro-lippage
Clips must remain in place until the adhesive achieves full green strength—typically 24–48 hours, depending on temperature, humidity, and product specifications. Removing them prematurely releases clamping force before the mortar has developed sufficient bond strength, allowing subtle tile shifting. This results in micro-lippage (variations under 1/32"), which may not appear immediately but becomes evident after grouting or foot traffic. Always follow the adhesive manufacturer’s published cure timeline—not assumptions or schedule pressure.
Striking clips at incorrect angles or using improper tools on grout lines
Aggressive or imprecise removal damages both tile and alignment. Metal hammers or angled strikes concentrate impact forces exceeding 50 PSI—well above the fracture threshold for many ceramic and porcelain tiles. Instead, use a rubber mallet striking parallel to the grout joint, targeting the clip base—not the tile surface—to ensure clean separation. Residual clip fragments below the tile plane pose no issue if fully removed prior to grouting and do not interfere with alignment integrity when handled correctly.
Adhesive and Substrate Failures That Undermine Tile Leveler Performance
Even precision-leveling systems fail without sound fundamentals. Substrate irregularities exceeding 3mm generate air pockets beneath tiles, reducing effective mortar contact by up to 40%—a key finding cited in the TCNA Handbook and ANSI A108.11. These voids prevent uniform stress distribution and shift load-bearing responsibility to tile edges, accelerating fatigue and failure. Likewise, using non-waterproof adhesives in wet areas—or fast-setting mortars incompatible with dense, low-absorption tiles—leads to long-term bond degradation that no leveling system can mitigate. Surface preparation remains non-negotiable: substrates must be structurally sound, clean, flat within tolerances, and properly primed; adhesives must be selected for tile type, substrate, and environmental exposure. Without this foundation, tile levelers don’t enhance performance—they merely delay the revelation of deeper failures.
FAQ
What does a tile leveler do?
A tile leveler aligns adjacent tiles into a single plane during installation, correcting minor elevation differences between tiles and preventing lippage.
Can a tile leveler fix uneven floors?
No, tile levelers cannot correct substrate irregularities, deflection, or slope. Structural floor leveling must be done before tiling.
Why do tiles crack when using a tile leveler?
Cracking usually occurs due to poor substrate preparation, excessive force during leveling, or uneven adhesive coverage creating stress points.
When should I remove tile leveler clips?
Clips should only be removed after the adhesive has fully cured, typically 24–48 hours based on manufacturer recommendations.
Can I use the same clip size for all tiles?
No, clip size must match tile thickness and format. Using mismatched clips can lead to lippage, adhesive gaps, or improper alignment.